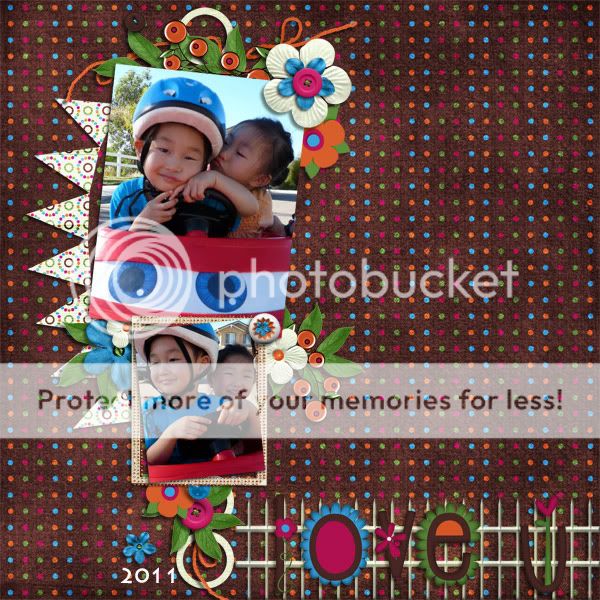
Join Stuff to Scrap forum members in a bright & early speed scrap on Friday, June 1st at 7 AM PT / 8 AM MT / 9 AM CT / 10 AM ET. The speed scrap will be hosted by Stephanie of DoubleTrouble Scraps; come & join us in the chat room or follow along in the speed scrap thread!
Thursday, May 31, 2012
GSO
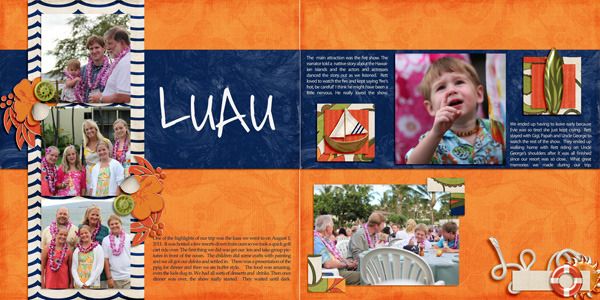
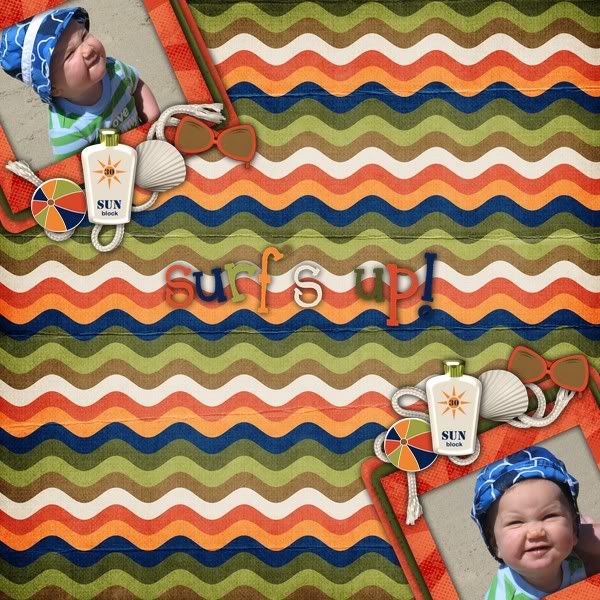
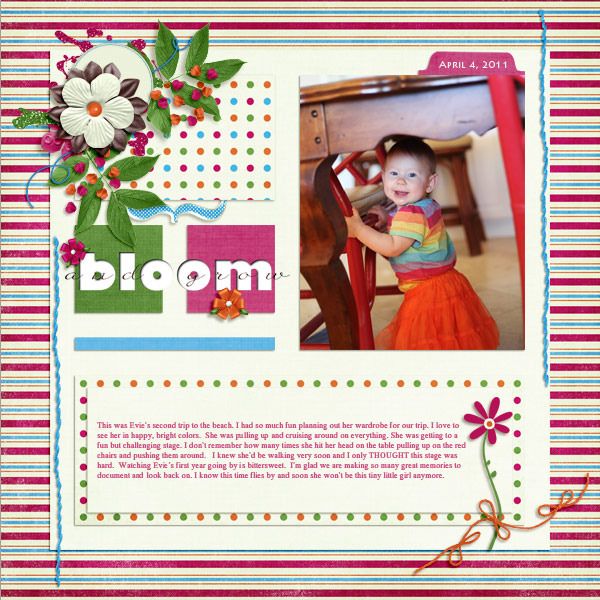
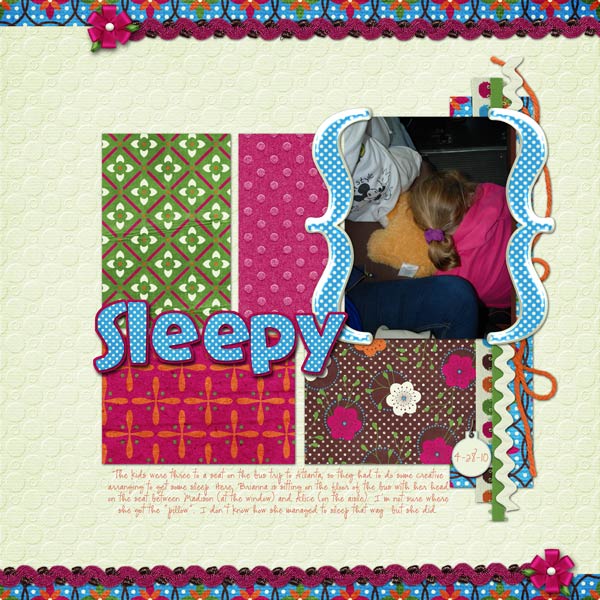
I have been browsing the gallery at Stuff to Scrap, and WOW! I am just blown away by the talent! I have chosen 4 layouts to spotlight today and I hope you will leave them some much deserved love...
The first one is by Shelly...called My Girls...I love her layering and the photos are too cool!
The second one by scrappinmama...called Math Pentathalon 2012...love the way she matted the photos and love her quote!
The third one by Joyeuse Pagaille...called Concentree...love how she framed the photos and her big flower cluster is cool....
And the fourth one by cylynn...called 100%boy...is too cute! Love the photos and the split papers is awesome...
Wednesday, May 30, 2012
Wednesday Tips/Tutorials
Disabling Tabs in Photoshop and PSE
One of the biggest frustrations with the newer
versions of Photoshop is the tabbed interface that opens all of your
images in a tabbed row. The good news is that this feature is easily
disabled. Here’s how:
Select Edit > Preferences > Interface.
Uncheck Open Documents as Tabs.
Click OK.
Now when you open and create new documents, they will cascade instead of opening in tabs.
The workaround in Photoshop Elements is to choose Edit > Preferences > General and tick “Allow floating documents in full edit mode.” Click OK.
Next, select Window > Images > Float all in windows from the Menu bar. This will cause your open documents to cascade so you can see them all at once and move them by dragging the title bar.
Tuesday, May 29, 2012
2 kits by Digi Designs by Nicole
I have 2 awesome kits to show you from Digi Designs by Nicole. One is brand new today and the other was a released a few weeks ago. I realized I never blogged about it. Oops! The first one up is a scrapping kit about scrapping! If you want to scrap pictures of a scrapbook retreat or you sitting at a crop, then this kit is for you! But don't worry you can use it to scrap many other things too. I have no scrapping pictures so I just didn't use the theme specific elements and there are plenty non themed elements! Take a look at Scrap It Too.
Here's my layout.
Here's another great kit from Digi Designs by Nicole called Vintage Memories. It works wonderfully for vintage/heritage photos but it also works great if you turn your current photos to sepia!
Here's my layout.
Here's my layout.
Here's another great kit from Digi Designs by Nicole called Vintage Memories. It works wonderfully for vintage/heritage photos but it also works great if you turn your current photos to sepia!
Here's my layout.
$2 Tuesday
It's Tuesday which means that I have a kit on sale for just $2! You saw my preview yesterday of what is in the bin-it's my bright, summery kit "Squeezed."
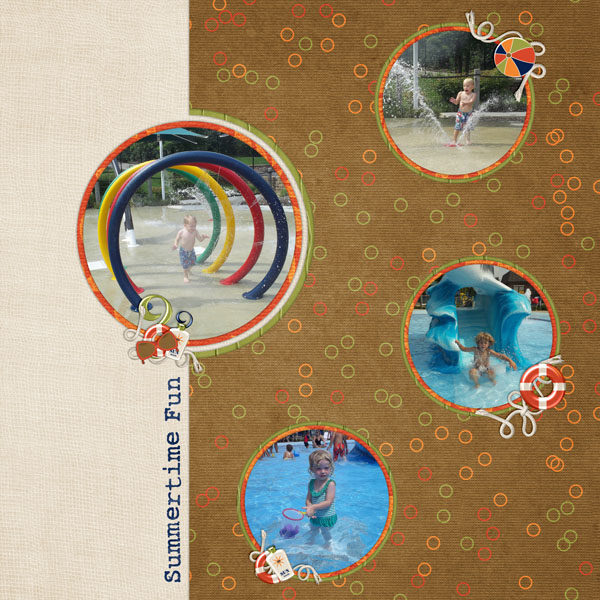
Take a look at some creative inspiration with this bright summery kit! Here's one from Lauralea.
Here's one from Thao that uses my Templates: Doubled Up.
And here's another one from Lauralea.
Take a look at some creative inspiration with this bright summery kit! Here's one from Lauralea.
Here's one from Thao that uses my Templates: Doubled Up.
And here's another one from Lauralea.
Monday, May 28, 2012
Monday Sneak Peek and Rewind
I have some new products coming out this Friday. Here's a sneak peek of what will be releasing.
Tomorrow is Tuesday which means something will be on sale for $2 tomorrow! I figured it's time for a nice bright summery looking kit to be on sale. I've decided to put Squeezed in the $2 bin!
Don't forget about the Memorial Day sale at STS. Sale ends today! Everything is 25% off!
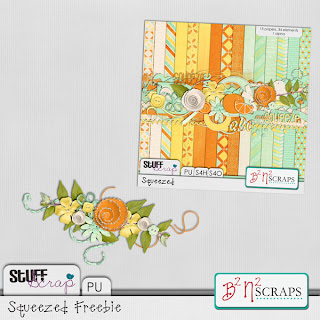
Here's a freebie for you using Squeezed. Make sure to come back tomorrow to see some great layouts using Squeezed!
Download HERE.
Tomorrow is Tuesday which means something will be on sale for $2 tomorrow! I figured it's time for a nice bright summery looking kit to be on sale. I've decided to put Squeezed in the $2 bin!
Here's a freebie for you using Squeezed. Make sure to come back tomorrow to see some great layouts using Squeezed!
Download HERE.
Sunday, May 27, 2012
Sunday Review
I'm here today to look back at my new release from Thursday. Well, my sort of new release from Thursday! Surf's Up is a great kit to use to scrap all your tropical pictures, surfing pictures or beach pictures. Just a reminder-it's on sale 30% off until Wednesday!
Take a look at a new layout from Stephanie.
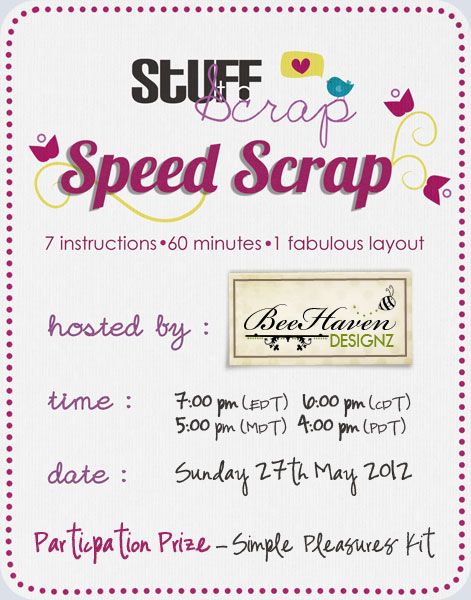
Melanie aka BeeHaven Designz will be hosting a speed scrap at Stuff to Scrap this Sunday Evening!!
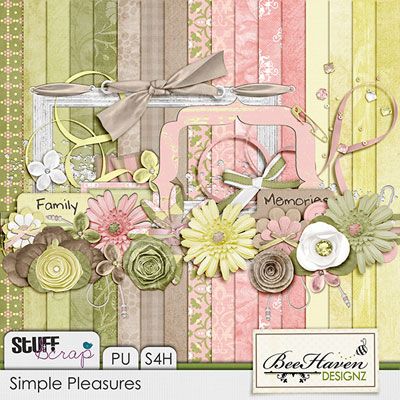
And here's the participation prize you get for completing your layout!
Saturday, May 26, 2012
Saturday News
Stuff to Scrap is having a Memorial Day Weekend Sale! The entire store is 25% off from May 26-28! So come check out some awesome designs at amazing savings!
Have you got what it takes? Are you a talented scrapper? Stuff to Scrap is having a contest called This Scrapper's Got Talent. It starts on June 17 and ends on July 21. There are great prizes and finalist win spots on the Stuff to Scrap CT. Come sign up here...
B2N2 is still having a CT and Promo Team Call! Come join a fun, laid-back team!
If interested, send an email to beckycards@sbcglobal.net with a short bio, link to your best gallery, link to your blog, and a list of other CT committments. Please indicate in the subject line what position you are applying for.
Wednesday, May 23, 2012
New Release: Surf's Up
Well I'm not sure I can call this a new release since I released the pieces a year ago but I am finally releasing the pieces together as a full size kit! Here is my kit Surf's Up.
This kit contains 14 papers and 32 elements. Please not that the elements and papers had been sold separately up until this point. Here are a few layouts from my CT using this kit. Here's a layout from Laura. I love the double page spread!
Here's a layout from Bren.
I just recently made a layout using Surf's Up.
I made my layout into a quick page freebie for you! Download HERE.
Wednesday Tip/Tutorial
Creating Subway Art with Digital Supplies
Subway art is a creative trend that is exploding on
the internet. The art form consists of using words, fonts and even
pictures to create a visually appealing and meaningful display. Using
Photoshop brushes and digital scrapbooking papers, you can put together
your own, highly customized Subway art to display or give as a gift.
Here’s how:
1. Open a document the size and shape you’d like to frame your art.
2. Open a piece of digital scrapbook paper and use the Move tool to drag it onto your document.
3. Get the Rectangle tool. Choose “Shape Layers” and “Create a New Shape Layer” from the Options bar. Drag out a rectangle on your document where you’d like your words to be placed.
4. Open word art such as Katie Pertiet’s Blocked Sentiments. Use the Move tool to drag several pieces of word art onto your new document.
5. Select the Word Art layer and press Ctrl T on your keyboard (Mac: Cmd T) to get the Transform controls. Use the corner handles to resize the word art to fit within your document. Click the checkmark to confirm the change.
6. While you have the Transform controls active, you can also turn a word. Use the side handles which look like a curved arrow to change the orientation of the word art. Pressing the Shift key as you turn moves the image incrementally. Click the checkmark to confirm the tilt.
7. To recolor a portion of the word art: With the word layer selected, get the Rectangular Marquee tool (or other selection tool) and make a selection around the portion you would like to change. Choose Edit > Fill > Color from the menu bar. Choose a color and click OK, then tick the Preserve Transparency box and click OK on the Fill dialog box. Your word will fill with the color you have selected. Press Ctrl D (Mac: Cmd D) to remove the selection.
8. If you get into a sticky situation, you can also make a selection around all the words in the word art by Ctrl clicking (Mac: Cmd clicking) the thumbnail of the word layer in the Layers panel. Use the paintbrush tool to paint a new color into the word selection using the foreground color as your paint color.
9. To change a word: Select the word layer and get the Rectangular Marquee tool. Make a selection around the portion of the word art you’d like to change. Press Delete or Backspace on your keyboard. This erases the portion you have selected. Now press Ctrl D (Mac: Cmd D) on your keyboard to remove the selection. Get the Type tool and choose a font, style and color in the Options bar. Click and type a new word in the space and then click the checkmark to confirm your type. Text can be resized like images by getting the transform controls to resize it. (see step 5) Using this technique, you can also replace a word with a digital sticker, rub on, or other embellishment.
10. To cover a word with photos or digital paper: Select the word layer and make a selection around the word you would like to cover. Press Ctrl J (Mac: Cmd J) on your keyboard. This copies *just* the selection to a new layer. Now open your paper and use the Move tool to drag it onto your page. Position it one step above your copy in the Layers Panel. Hold the Alt key (Mac: Opt key) and click between the paper and the copied layer in the Layers panel. Use this method to cover the mat layer with paper as well.
11. When you are happy with your artwork, save it as a jpg and print it. You may also like to save it as a layered PSD file just in case you find you’d like to change something later.
12. Slip the print into a frame or glue it to a canvas to display it. You can even glue it to a piece of rustic or painted wood.
Tuesday, May 22, 2012
$2 Tuesday: My Daddy, My Hero
I have My Daddy, My Hero in the $2 bin today as well as the QPs! Do you have any Father's Day projects that you would like to make? If so, this is the perfect kit for you! Make sure to grab it at this great price!
Take a look at a few more layouts/projects made with My Daddy, My Hero. I just made this one for scraplift challenge for STS this month.
Here's a hybrid by Stephanie of Double Trouble Scraps. I wonder if she will make a hybrid template of this??
Here's a layout by Kortni.
Monday, May 21, 2012
Monday Rewind
I have a great kit in the $2 bin tomorrow! It'll probably help you make a father's day project or two! Can you guess what it is? Here's a layout to give you a hint. The layout is by ljacobson.
I also have a small freebie for you using this kit. But before I give you the download link, be prepared to come back on Thursday to see what I am rereleasing!
Now for your freebie. You can download HERE.
I also have a small freebie for you using this kit. But before I give you the download link, be prepared to come back on Thursday to see what I am rereleasing!
Now for your freebie. You can download HERE.
Sunday, May 20, 2012
Sunday review: Polka Dot Garden
I want to show you more layouts with Polka Dot Garden. Don't forget that this kit, the add on and the QPs are on sale for 30% off until Wednesday! Hurry and grab it while it's on sale.
Here are more layouts from my talented CT! First up is a layout by Laura, followed by a layout by Daphne.
Here's a layout by Thao.
I made you another freebie. You can download HERE.
Here's a layout by Thao.
I made you another freebie. You can download HERE.
Saturday, May 19, 2012
Saturday News
There are some exciting things happenning at Stuff to Scrap this week....
Scrappin Serenity's Creative Team Member, Noelle, will be hosting a speed scrap at Stuff to Scrap for her on Sunday Evening!!
And here's the participation prize you get for completing your layout!
Mommy Made This' CT Member Christie is holding a speed scrap at Stuff to Scrap on Saturday afternoon....
And here's the participation prize for completing your layout...
There is also a new Free with Purchase going on...simply spend $5 in the store and you receive Building Block Templates FREE!
I am still having a CT and Promo Team Call going on so make sure you hurry up and get those apps in!
And here's the participation prize for completing your layout...
There is also a new Free with Purchase going on...simply spend $5 in the store and you receive Building Block Templates FREE!
I am still having a CT and Promo Team Call going on so make sure you hurry up and get those apps in!
Subscribe to:
Comments (Atom)


